

Headwaters
The brain of every TrailCurrent install. A compact edge compute gateway that quietly runs your whole rig, even when the cell bars are gone.
Two Paths To A Headwaters
The simple path: four off-the-shelf parts and an evening on the bench. Or, for a weekend project, print the case, wire your own connectors, and build the whole thing yourself.



What's Inside / Module
The Edge Gateway
Dashboards, offline maps, automation, and the bridge between every module on the CAN bus, all running on a compact enclosure that lives out of sight in your rig.
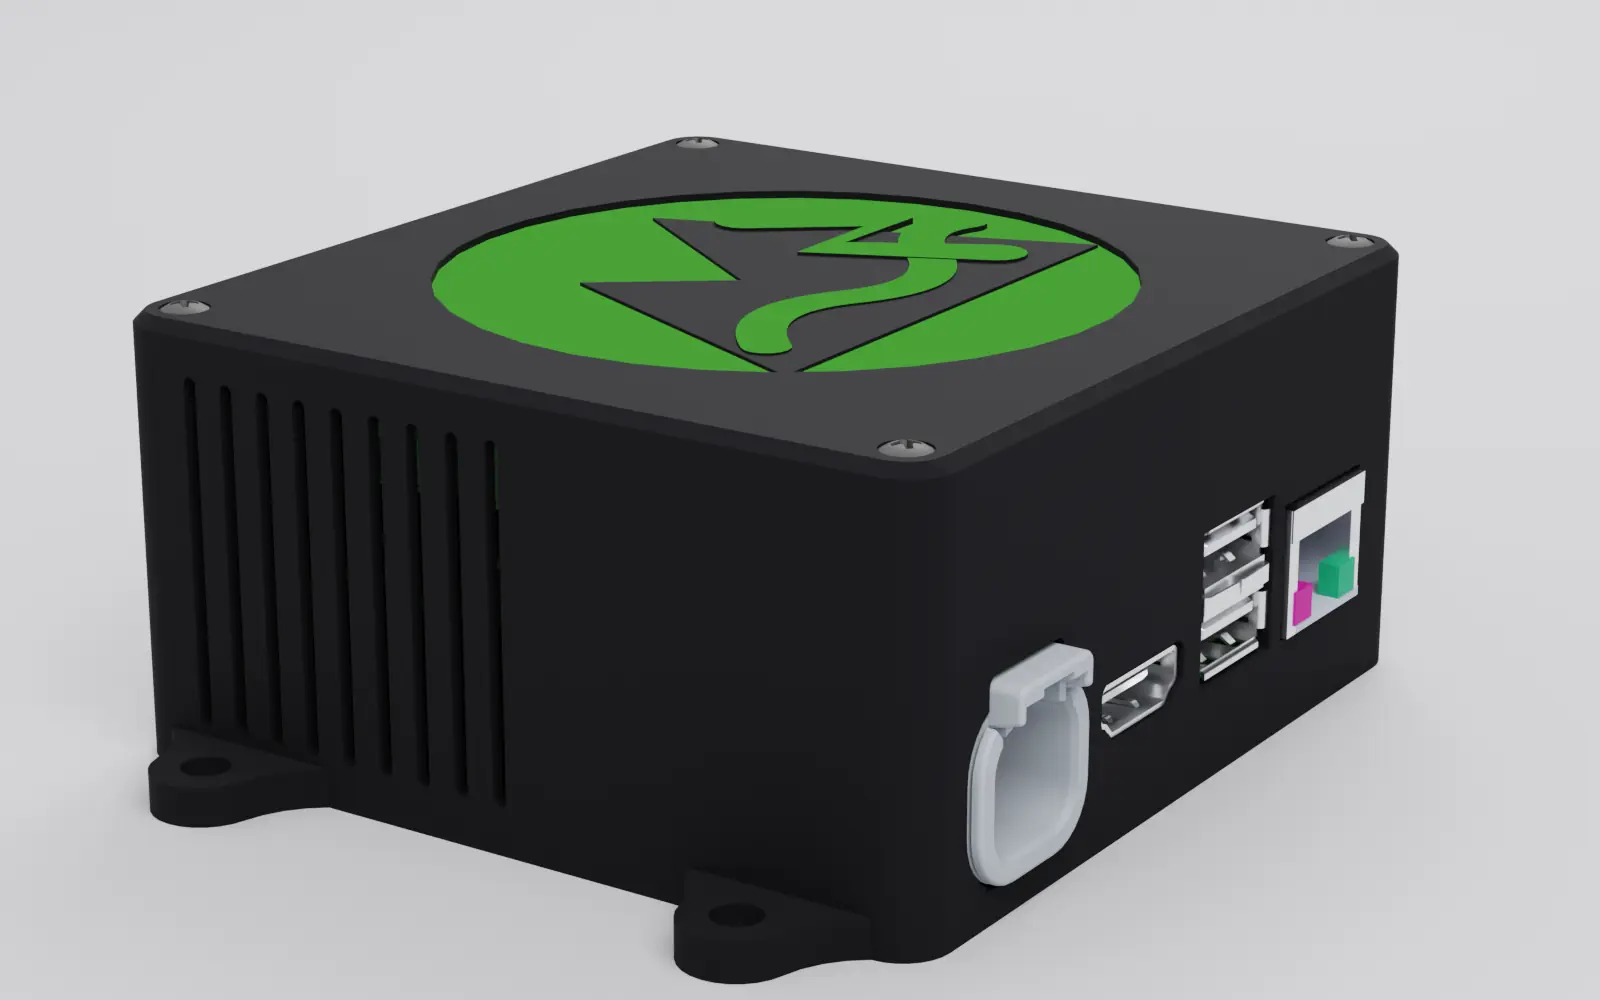
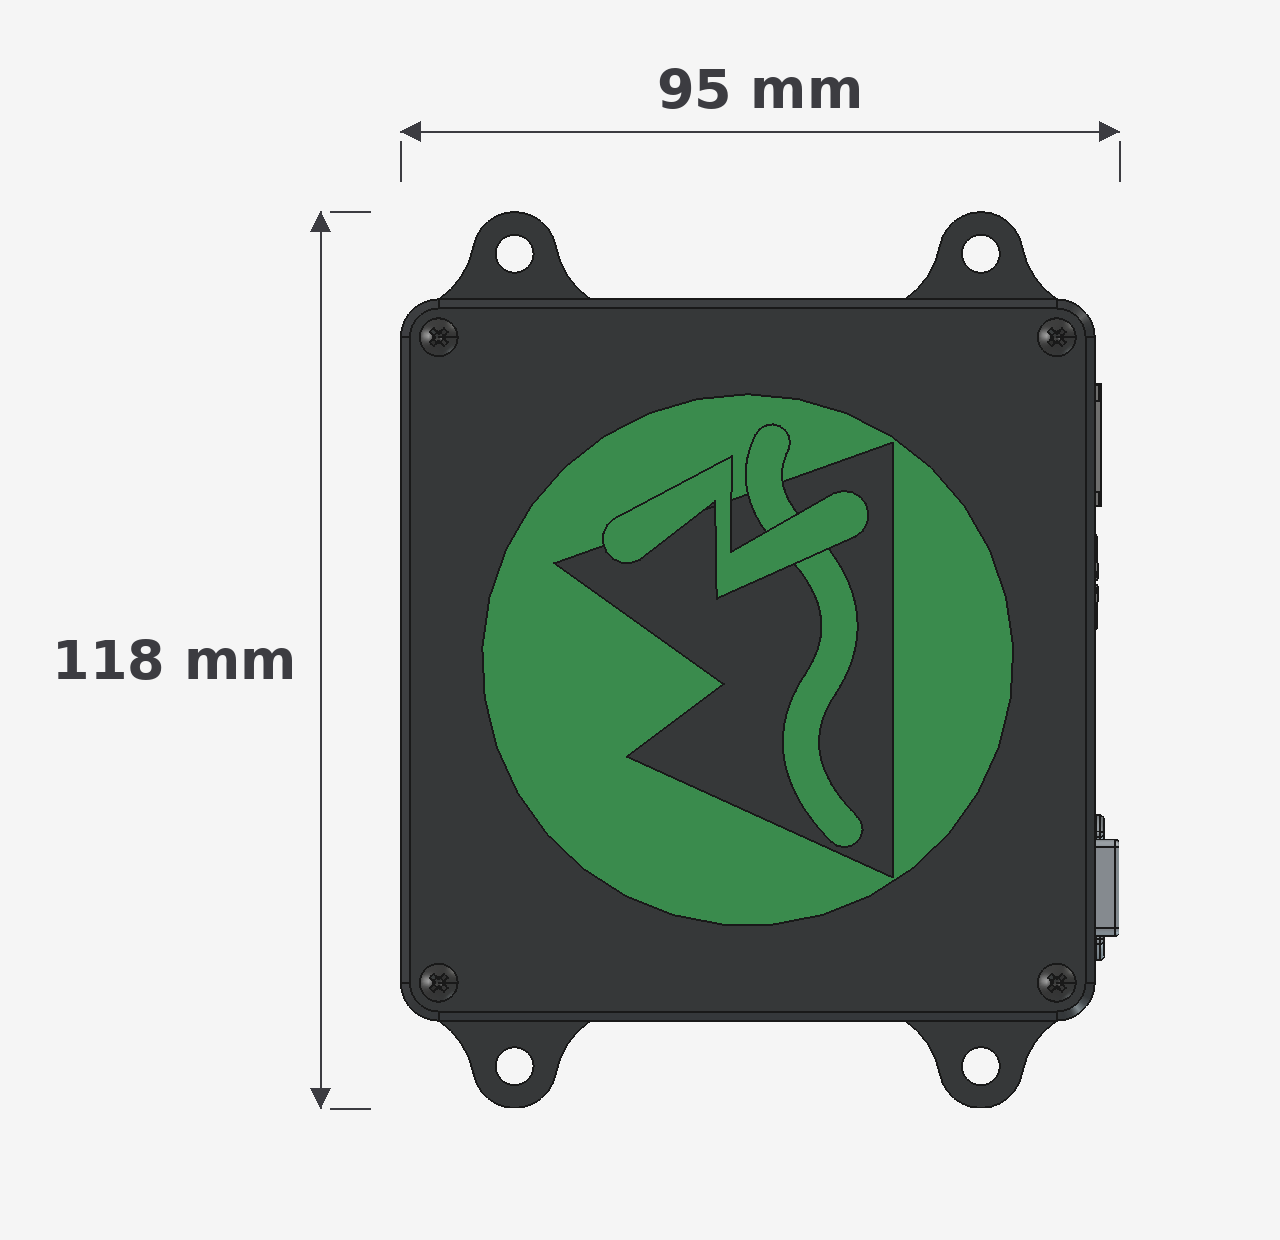
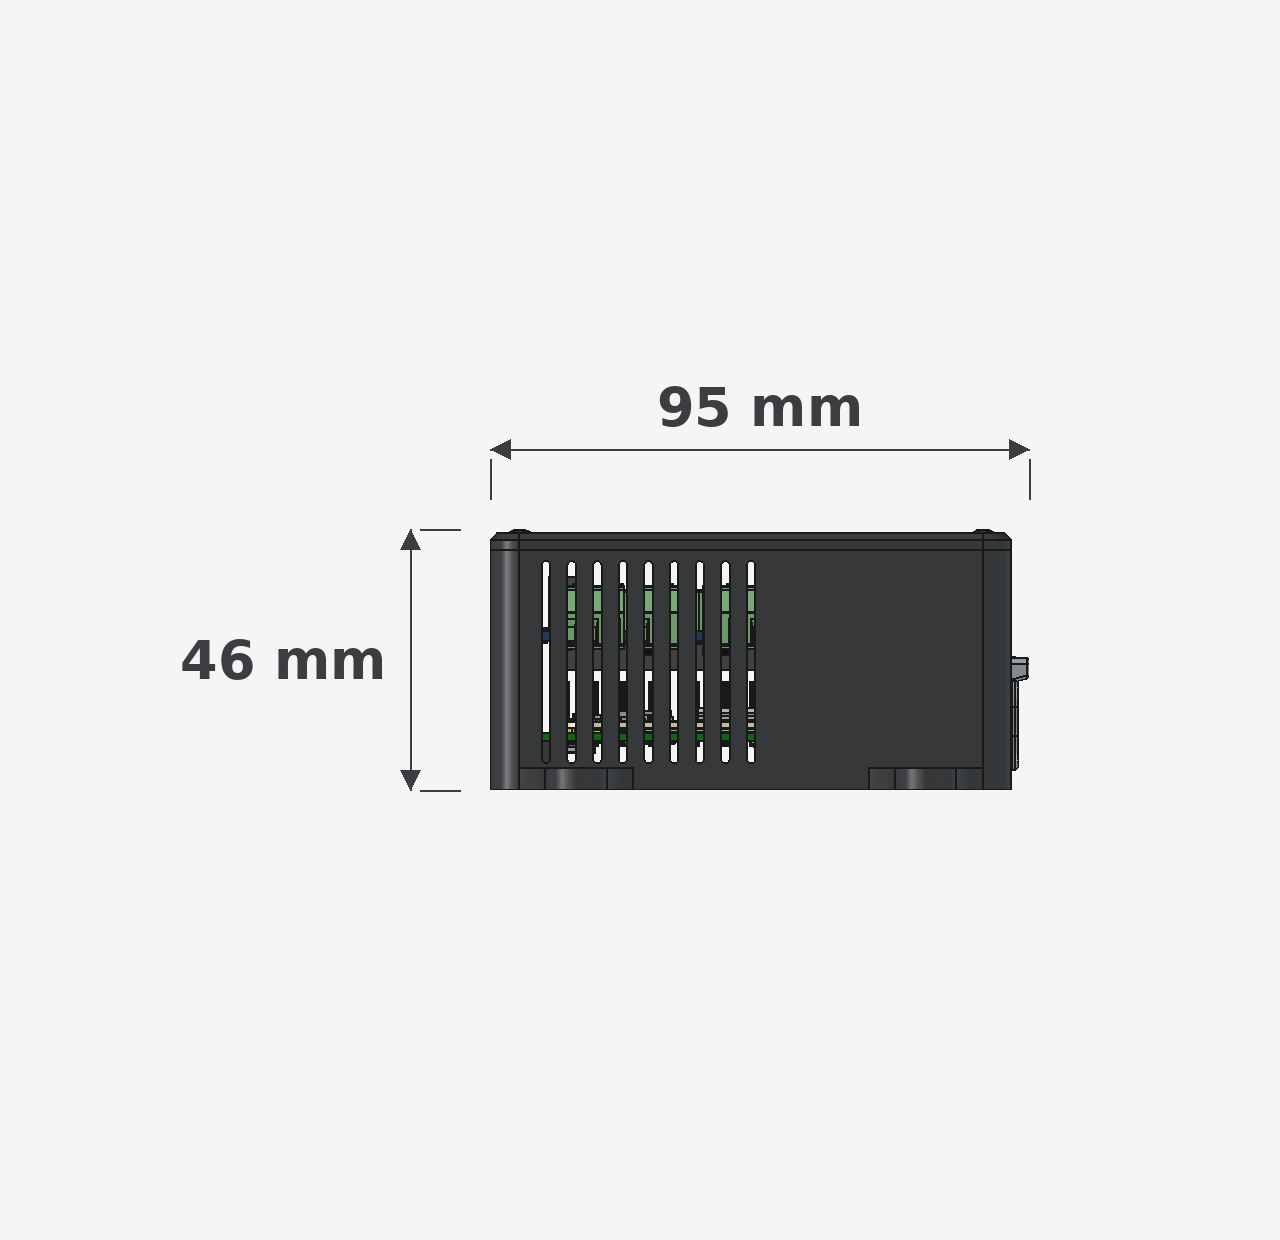
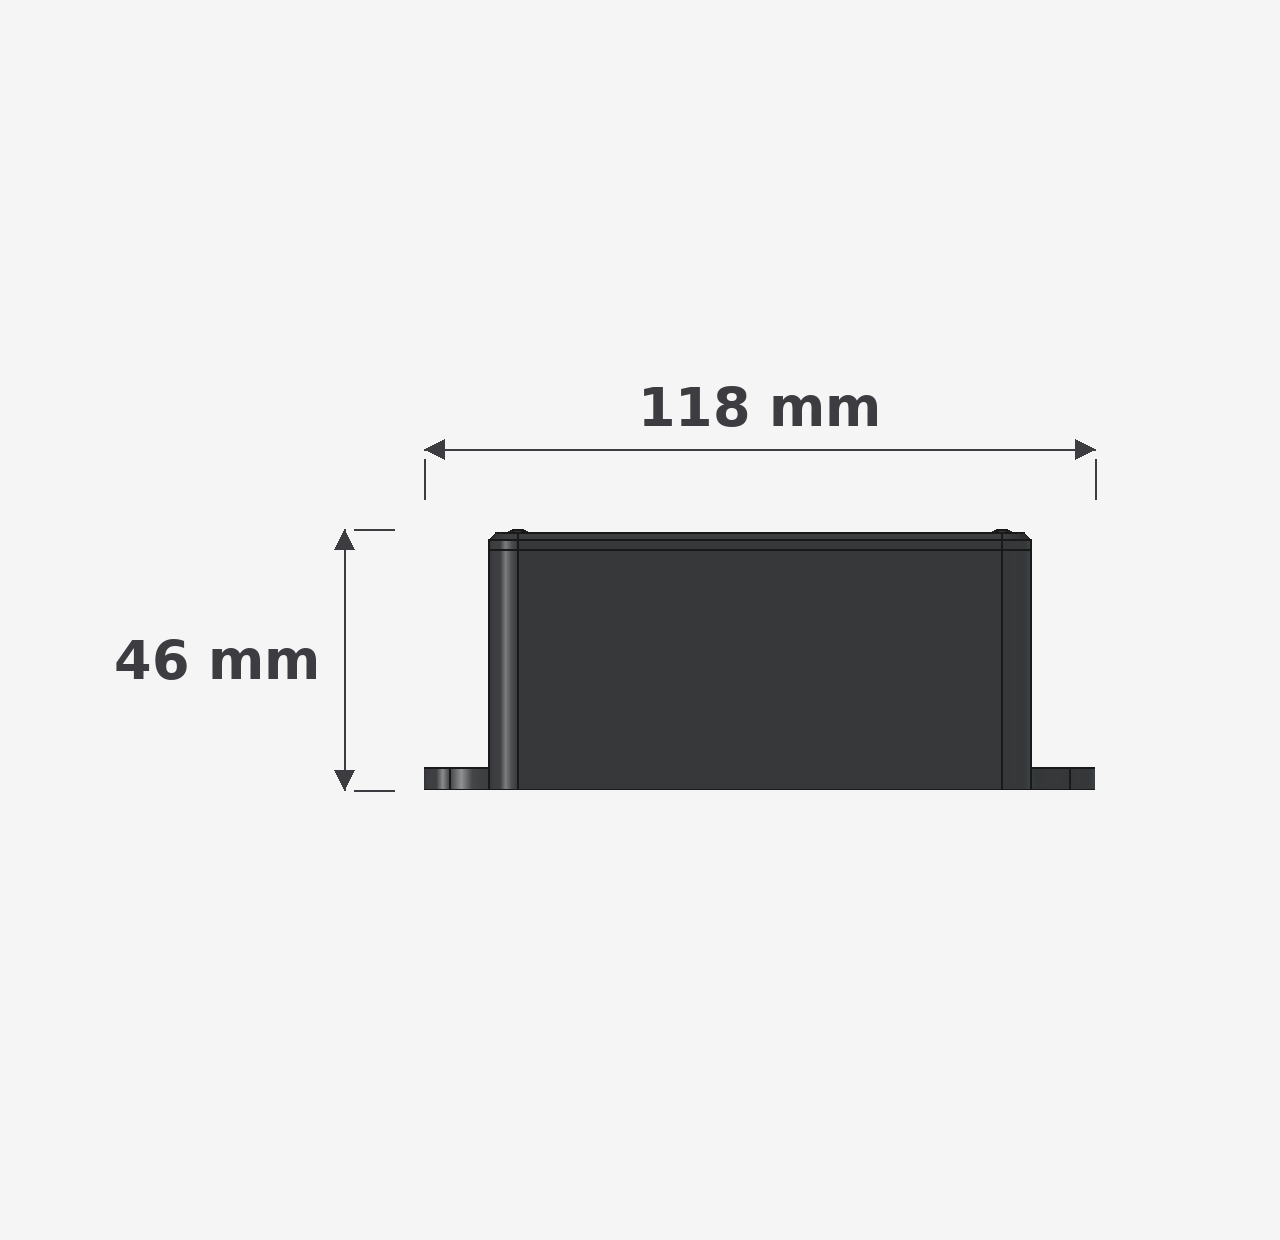
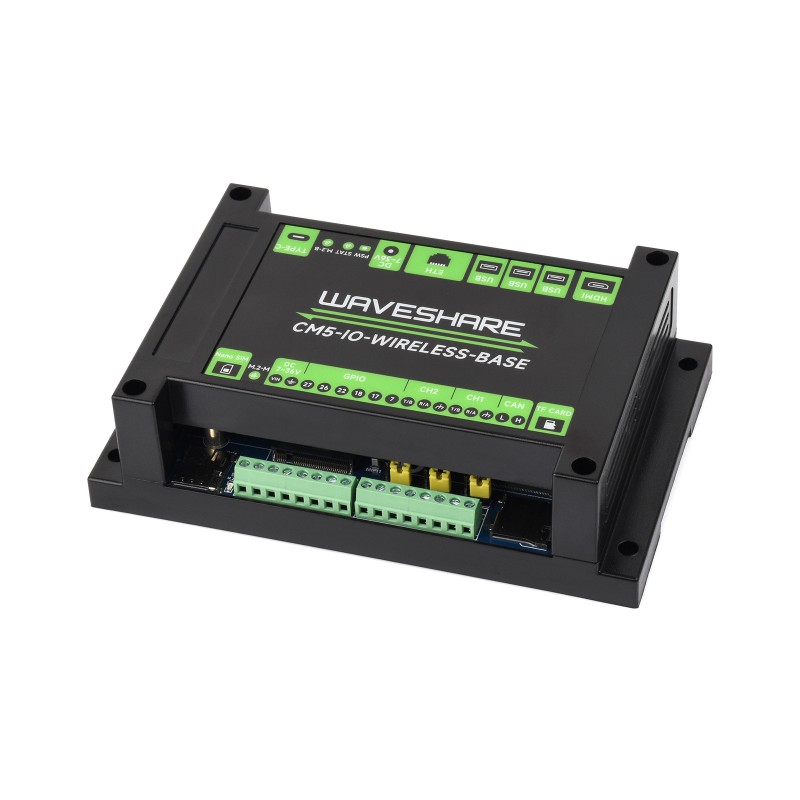
Built around the Raspberry Pi Compute Module 5 in a Waveshare CM5 IO Wireless Base. The base is the carrier board, the housing, and the connector plate all in one. Four parts, no PCB, no printer, no soldering. An evening on the bench and you have a full edge gateway.
At a Glance
What lives inside the Waveshare base and what comes out of the terminals.
Compute
Raspberry Pi Compute Module 5 on the Waveshare CM5 IO Wireless Base. Quad-core Arm Cortex-A76, 4 GB or more RAM, M.2 2230 NVMe SSD. Plenty of headroom to run five Docker containers, serve offline maps, and bridge CAN traffic without breaking a sweat.
Vehicle Network
The IO Wireless Base has CAN on board and breaks it out to labelled screw terminals on the outside of the case. Wire your TrailCurrent 12 V, GND, CAN H, and CAN L leads straight in. An on-board jumper handles CAN termination.
Enclosure
Waveshare's ready-made housing. Integrated active cooling with the Fan 3007-B, screw-terminal I/O on one face, and standard USB / Ethernet / HDMI ports on the other. No 3D printer, no custom PCB.
Parts List
Four parts, off-the-shelf. No PCB, no printer, no soldering.
Waveshare and Amazon links are affiliate links. They cost you nothing extra and send a small cut back to the project.
Waveshare / Qty 1
CM5 IO Wireless Base
Carrier board with a pre-wired case, Gigabit Ethernet, CAN bus screw terminals, USB 3.0, HDMI, and an M.2 NVMe slot. This is the enclosure and the carrier all in one.
Shop at Waveshare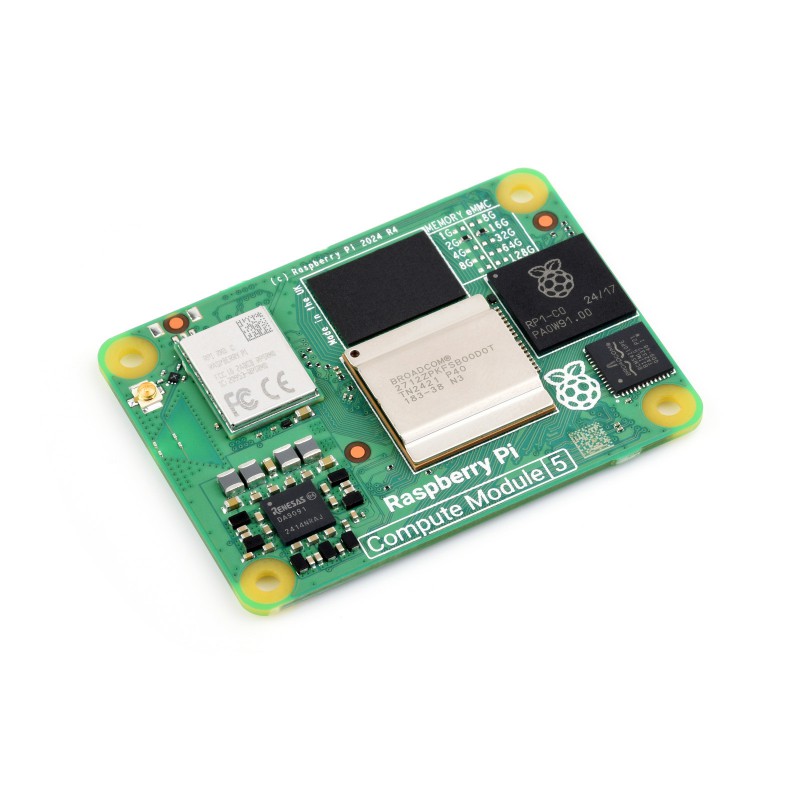
Raspberry Pi / Qty 1
Compute Module 5, 4 GB or higher
Any CM5 variant works. Wireless or non-wireless, eMMC or Lite. Pick what fits your build. Source it from your favourite Pi supplier: PiShop, Adafruit, Chicago Electronic Distributors, or your regional Raspberry Pi Approved Reseller.
Shop at Amazon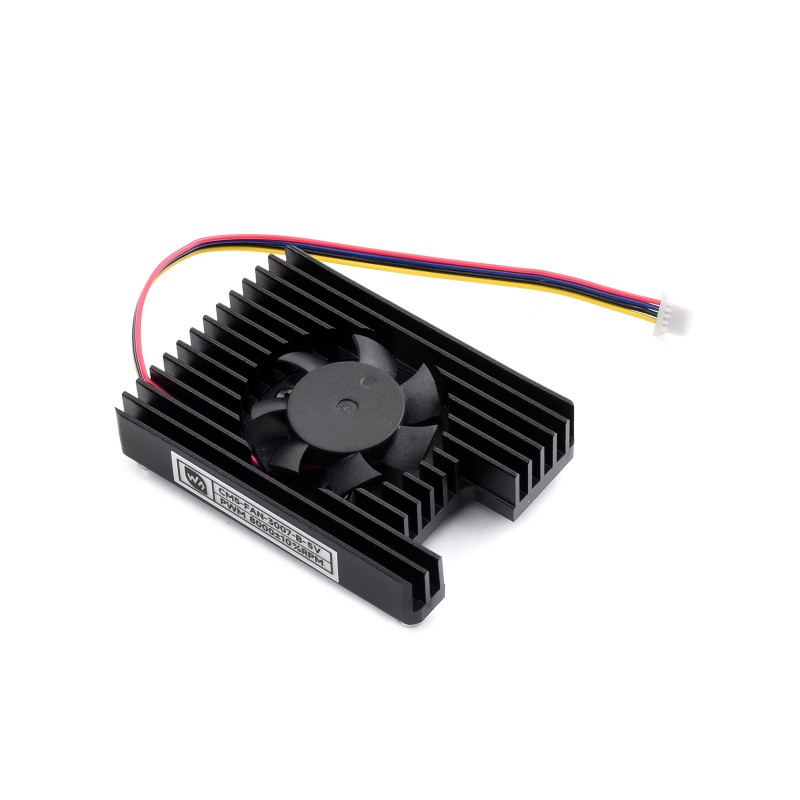
Waveshare / Qty 1
CM5 Active Cooler
SKU 29833 Part No. CM5-FAN-3007-B-5V
Ships with thermal paste pads, spacers, a mounting frame, and four screws. Keeps the CM5 in its thermal envelope while it serves offline maps and bridges CAN traffic in a warm cabin.
Shop at Waveshare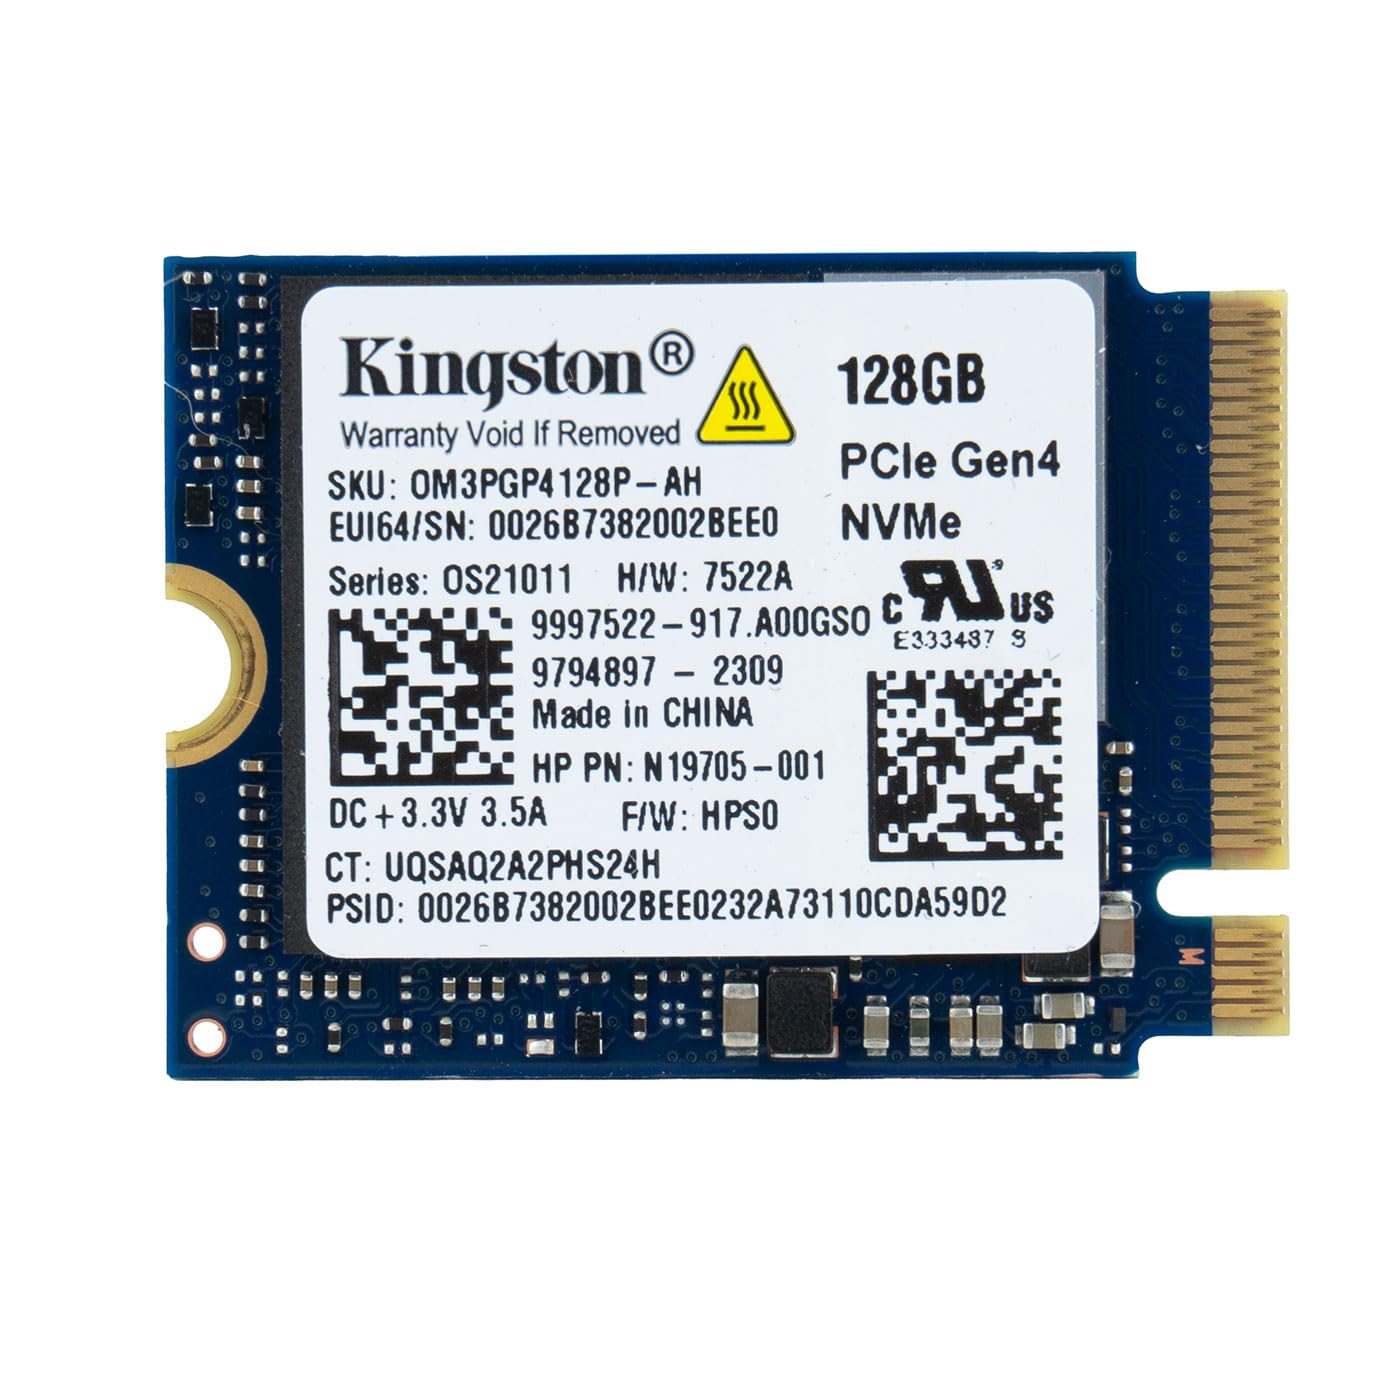
Amazon / Qty 1
128 GB NVMe SSD (M.2 2230)
Holds the OS, Docker images, and offline map tiles (~25 GB for full US coverage). Any 2230 NVMe drive of similar capacity works. This is the specific Kingston 128 GB drive we run in ours.
Shop at AmazonAssembly
Ten quiet minutes on the bench. Screwdriver, thermal pads, done.
-
1
Open the case
Remove the four screws holding the top cover onto the Waveshare CM5 IO Wireless Base and set the cover aside. Save the screws, you will reuse them at the end.
-
2
Lift out the carrier board
Carefully lift the carrier board out of its housing so you can reach the underside.
-
3
Thermal pads on the CM5
Apply the thermal paste pads from the fan kit onto the chips on top of the Compute Module 5. Peel the backing off both sides so the pads bond cleanly.
-
4
Seat the CM5 with spacers
Drop the CM5 into the carrier's board-to-board connectors with the Waveshare spacers (from the fan kit) underneath it. Press evenly until the connectors seat fully.
-
5
Mount the fan
Place the fan on top of the CM5 aligned to the spacer holes. Attach with the four screws provided in the fan kit. Snug, not cranked down. Plug the fan cable into the fan controller header on the IO Wireless Base.
-
6
Install the NVMe drive
Slide the M.2 2230 NVMe drive into the slot on the IO Wireless Base and secure it with the mounting screw provided.
-
7
Set the CAN termination
Set the on-board CAN termination resistor jumper based on where this Headwaters sits on your bus. If it is the last device on the CAN bus, enable termination. If it is not, leave it off. If you are using external termination resistors, set the jumper to NC.
-
8
Close the case
Place the assembled carrier board back into the IO Wireless Base housing. Secure the top cover with the four screws you removed in step 1.
-
9
Flash the NVMe
Follow the flashing instructions in the Headwaters GitHub repository. This loads the TrailCurrent image, the containers, and the offline map tiles onto the NVMe.
-
10
Wire it up and power on
Connect your TrailCurrent 12 V, GND, CAN H, and CAN L leads to the matching screw terminals on the cover. Power up. Headwaters comes online, the containers start, and the dashboard is reachable at
https://headwaters.local.
What It Runs
Five Docker containers, plus a handful of host-side services.
Frontend
Nginx serving the MapLibre GL progressive web app over HTTPS. This is Overlook, the dashboard you hit from any phone, tablet, or laptop on the vehicle's WiFi.
Backend
Node.js Express API. Handles the CAN–to–MQTT bridge, the cloud bridge, light and relay commands, thermostat, alarm notifications, and SMS over SSH to a cellular router.
Mosquitto
Eclipse Mosquitto MQTT broker over TLS on port 8883. Every module, every service, and every dashboard talks to each other through topics on this broker.
MongoDB
MongoDB 7 document store. Holds configuration, historical data, user settings, and encrypted credentials like the SMS SSH key.
Tileserver
Custom vector tile server with styles, fonts, and sprites. Serves offline map tiles baked into the image so navigation keeps working when cell service doesn't.
Host Services
can–to–mqtt.py bridges the physical CAN bus to MQTT. discovery–mdns.py finds modules on the local network. deployment–watcher.py applies OTA updates from the cloud when they land.
Build Your Own Headwaters
Every file is in the repository: CAD, firmware, container configs, setup scripts, and the CM5 image build system. Fork it, build it, make it yours.